Shine Bright: Build 6 Simple Solar Gizmos
Ready to turn sunlight into clever gadgets? This playful guide shows six easy DIY solar projects you can finish in an afternoon. No PhD, just curiosity, common parts, and sunshine. I’ll cheer you on and keep instructions simple and fun.
What You’ll Need (Short List)

User’s Guide to Solar Gadgets
Make a Cozy Solar Mason-Jar Lantern
Who knew a jar and a bit of sun could beat batteries and mood lighting? (Spoiler: it can.)Gather a small solar panel (2–5V), a rechargeable cell (AA NiMH or a Li‑ion + proper charge module), an LED cluster or fairy lights, a tiny switch, wires, hot glue and heat-shrink tubing.
Drill a hole in the jar lid just big enough for the wires. Use a grommet if you have one.
Attach the solar panel to the top of the lid with silicone or epoxy. Mount the LED cluster/fairy lights inside the jar, tacking wires to the lid so the lights hang nicely.
Wire the panel, charge cell and switch together—use a simple solar charge module for Li‑ion cells. Insulate exposed joints with heat‑shrink and hot glue.
Seal the lid edges with silicone for outdoor use. Let the cell charge in daylight, then flip the switch and enjoy.

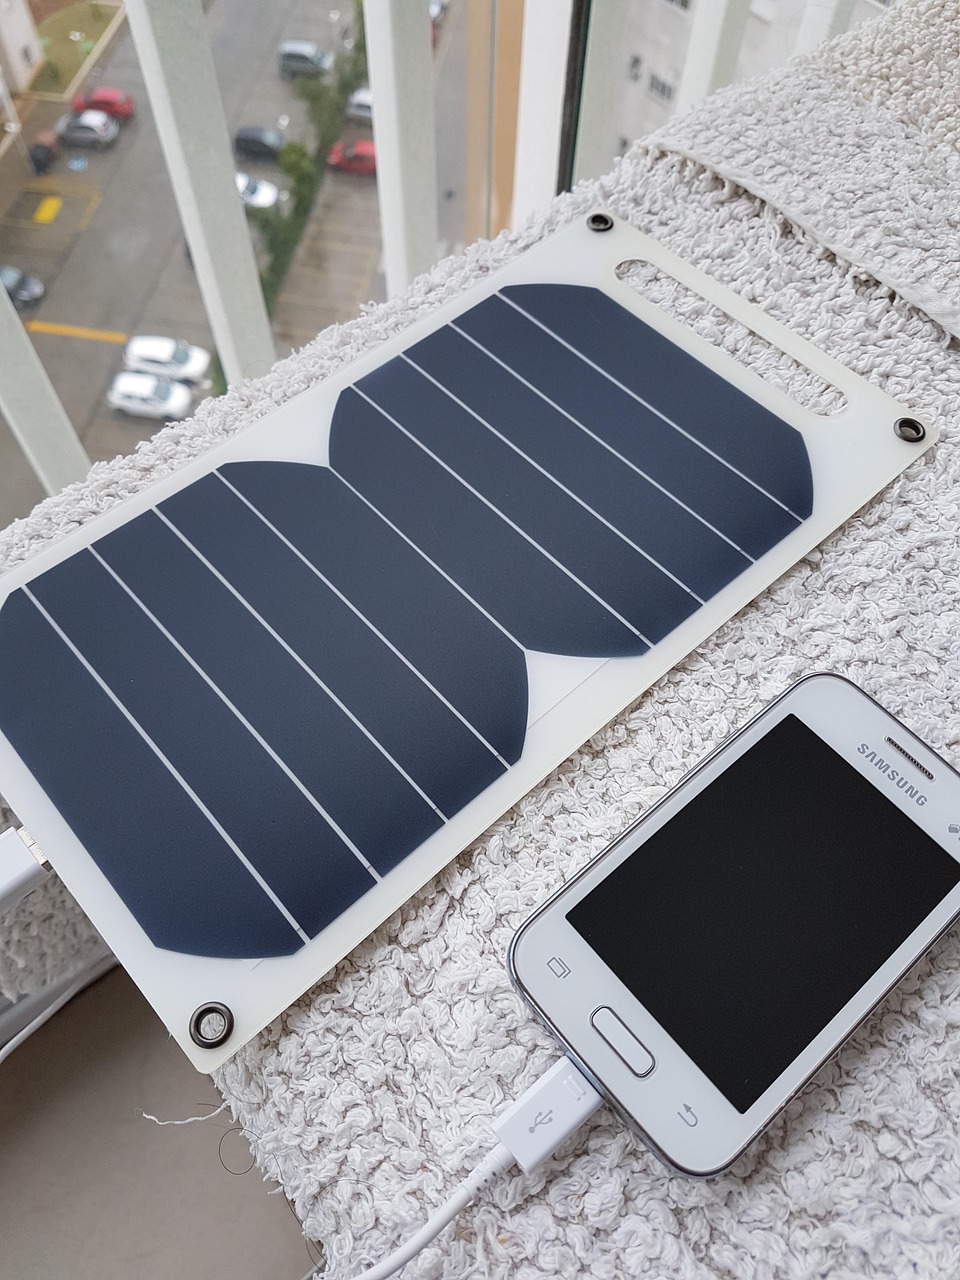
Build a Portable Solar Phone Charger (USB)
Want emergency juice without hunting an outlet? This little charger might just be your new best friend.Select a 5V-compatible solar panel (1–3W) or use a higher-voltage panel plus a boost/buck regulator to get stable 5V output.
Use a USB output module with overcharge and short-circuit protection and wire it to a proper Li‑ion charge controller.
Connect the solar panel to the charger, solder tidy joints, and insulate with heat‑shrink.
House the panel, battery and electronics in a compact case (mint tin or project box) and mount the USB socket for easy access.
Include a single 18650 Li‑ion (2000–3000mAh) for consistent output and overnight use.
Learn basic soldering: tin wires, heat‑shrink openings, and test with a multimeter before sealing.
If output drops in shade, reposition the panel. Manage heat with vents. Add a blocking diode to prevent night‑time battery drain.

Assemble Charming Solar Garden Stake Lights
Instant curb appeal—no wiring, no electrician, and zero guilt about the power bill.Mount a small solar panel on the top of a stake using a PVC cap or bracket; choose a 1–3V panel for a pack of NiMH AAs. Picture lining your walkway with tiny suns—do it!
Wire the panel to an automatic dusk sensor (photodiode + transistor) or buy a ready-made auto‑on module; add a resistor or a small constant‑current LED driver sized to your LEDs.
Install warm white LEDs (≈3000K) into clear weatherproof tubing and run the wires down the stake.
Secure and solder connections, then coat joints with clear epoxy to keep rain out.
Orient the panel south and angle for full sun; replace NiMH/AA cells yearly to maintain bright light.

Create a Tiny Solar-Powered Desk Fan
Cool breeze from the sun? Yes please — and it’s surprisingly satisfying to watch it spin.Choose a small 2–6V solar panel and a low‑voltage DC motor (3–6V).
Match motor torque to blade size: high RPM motors suit tiny plastic blades; lower RPM/higher torque motors push more air with larger blades.
Add a rechargeable buffer (single 18650 Li-ion or a 3‑cell NiMH pack) to run after clouds.
Install a simple PWM speed controller (prebuilt MOSFET or 555 module) to dial airflow and save energy.
Balance blades by trimming edges or adding tiny tape weights until wobble stops for quiet use.
Guard the spinning blades with a mesh cage and secure wiring with heat‑shrink and hot glue to prevent shorts.
Add flair with a tilt hinge or decorative case—try mounting the fan in a repurposed tea tin for a cute desktop breeze.

Cook S’mores with a Mini Solar Oven
It sounds fancy, but a backyard mini oven is mostly shiny surfaces and patience — gooey results guaranteed.Plan the build: build a small insulated box with reflective interior panels, a clear glazing top, and a focused small solar collector or parabolic reflector (foil‑covered cardboard works).
Insulate the box: line with foam board or crumpled newspaper, then seal seams with tape to trap heat.
Position reflective panels: angle foil panels to bounce and concentrate sunlight onto the cooking tray; test with a hand to find the hottest spot.
Add a black cooking tray: use a small black metal pan or painted tin to absorb heat and hold graham crackers, chocolate, and marshmallows.
Monitor temperature: place a simple digital probe or candy thermometer on the tray; expect about 120–150°C (250–300°F) on sunny days—enough to toast marshmallows in minutes.
Mount safely: clamp the oven to a stable table, use oven mitts, and operate between 10am–3pm.
Essentials: insulated box, reflective foil, clear glazing, black tray, thermometer, clamps.
Not for heavy cooking—great for snacks and science demos.

Install a Solar-Powered Night Light with Auto-On
A tiny sentinel that lights your path automatically — less fumbling, more dramatic midnight trips to the fridge.Mount a small solar panel (≈1–2 W) to charge a NiMH cell inside a weatherproof enclosure—think AA or AAA pack for easy swaps.
Wire the battery to a low-current LED through a photocell or a transistor-based dusk detector; test the circuit on a breadboard before sealing.
Calibrate the sensor by adjusting the photocell/potentiometer so the lamp kicks in at true dusk—not every cloudy drama; for example, set the threshold after sunset when ambient light feels like twilight.
Add a PIR motion sensor in series for sporadic activation so the light conserves energy and only cheers visitors when they approach (30–60s timeout works well).
Optimize runtime by using high-efficiency, low-current LEDs and limiting drive current to a few milliamps.
Choose durable outdoor materials (ABS or polycarbonate) and provide an easy-access battery compartment for quick replacements—because batteries get tired too.

You’re a Solar Tinkerer Now
Six projects, endless sunny possibilities — start small, follow safety tips, tweak and upgrade as you learn; give them a try, share photos and hacks, and join the solar proud crowd!