
Welcome to the World of Temporary Tattoos!
Dive into the exciting journey of designing your own temporary tattoo! Unleash your creativity and learn how to put your unique mark on skin without the commitment. Whether it’s for a party or just for fun, let’s create some ink-credible designs together!
What You’ll Need to Get Started

Create Stunning DIY Temporary Tattoos at Home!
Step 1: Conceptualize Your Design
What’s Your Story? Let’s Get Creative!Kick off your tattoo journey by brainstorming ideas. Grab a notebook or open a notes app—your rendezvous with creativity is about to begin! Think about symbols, quotes, or images that resonate with you. This is your chance to create something personal and unique!
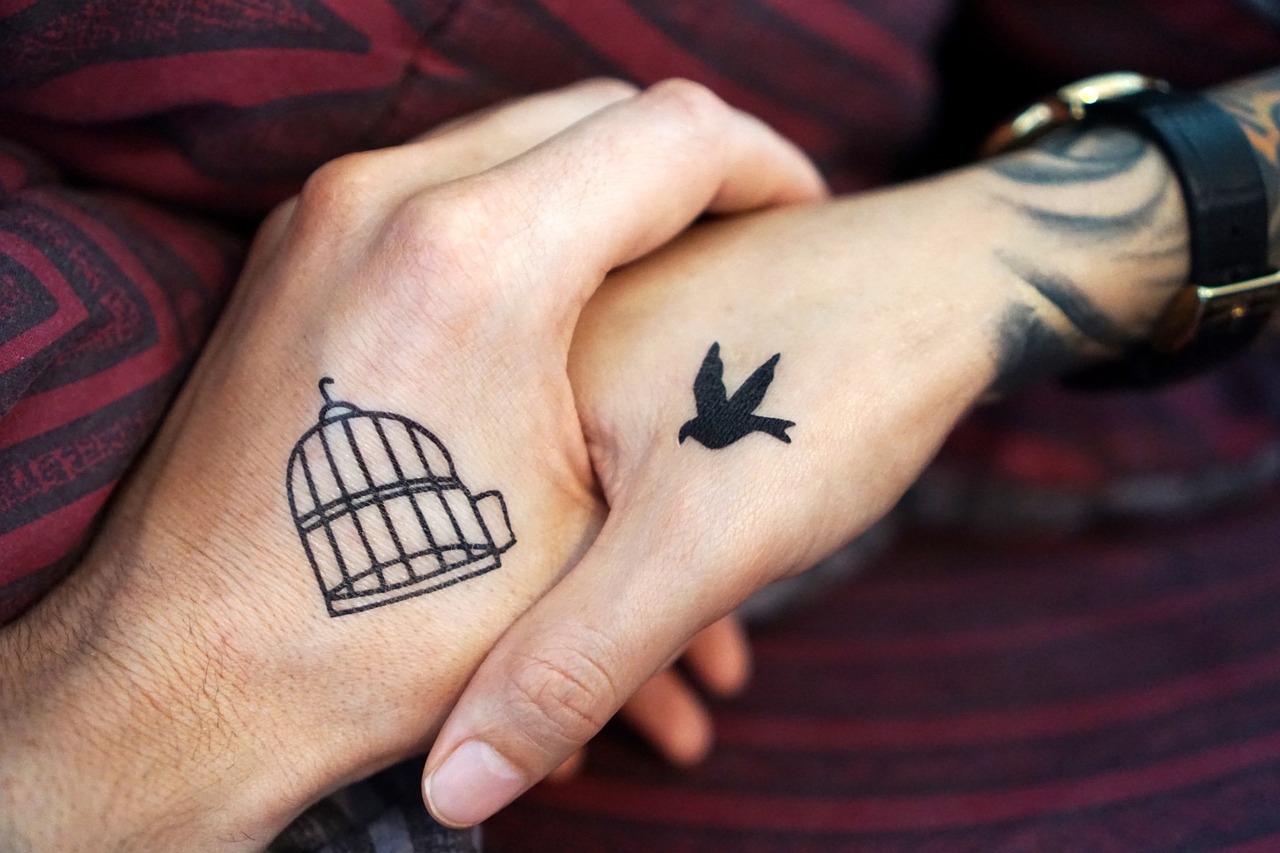
Explore the themes that speak to you. Are you drawn to nature? Maybe a simple tree or mountain silhouette? Prefer something witty? Consider a funny quote that always makes you smile. Don’t overthink it; let your imagination run wild!
Make a list of potential designs:
Tell a story. Think about a memory or experience that defines you. For instance, a tiny compass could symbolize your love for adventure. The sky’s the limit, so jot down everything that comes to mind! Your tattoo’s journey starts here—let’s get those creative juices flowing!

Step 2: Create Your Design
Unleashing the Artist Within – Digital Style!Transform your concept into a digital masterpiece! Grab your favorite design software—whether it’s Adobe Illustrator, Procreate, or even a simple app—and start bringing your ideas to life.
Choose your colors, shapes, and sizes. Play with vibrant hues or go for a minimalist black-and-white look, depending on your style. For example, if you’re designing a floral tattoo, consider varying shades of green for leaves and bright colors for the petals—after all, flowers deserve to shine!
Mirror your design before printing! Remember, what goes on your skin will look reversed; so flip your design horizontally like it’s checking its hair in the mirror. This little trick ensures that what you see on-screen matches what you’ll see on your skin.
Explore different layouts. Want to make it wrap around your wrist? Consider how your design will appear from different angles. And hey, don’t be afraid to go wild! Temporary tattoos are your canvas, so unleash that creativity—who wouldn’t want a unicorn riding a rainbow? Have fun with it!
Step 3: Print Your Tattoo
The Moment of Truth: From Screen to Skin!Load that tattoo paper like a pro! Grab your special tattoo paper and slide it into your printer. This isn’t just any paper, so check the packaging for orientation details—this will ensure your design comes out perfectly vibrant.
Get ready to print your masterpiece! Before hitting ‘print’, do a quick double-check on your design. Is it centered? Are the colors just right? If you’re feeling adventurous, do a test print on regular paper to see how it looks in real life—think of it as a preview for the big reveal!
Follow the manufacturer’s instructions to the letter. Printing temporary tattoos can be a delicate business, so heed those guidelines! Some papers require you to apply a protective coating after printing; it’s like giving your design a cozy blanket before it ventures out into the world.
Finally, print your tattoo! Feel the rush of excitement build as that printer works its magic, transforming your digital dream into a tangible piece of art. Once it’s done, set it aside and admire your handiwork. Your creation is ready for its next thrilling step!

Step 4: Cut and Prepare Your Tattoo
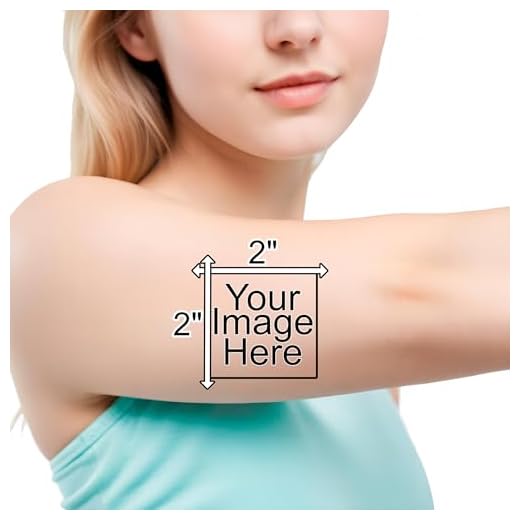
Scissors Ready? Let’s Get Snippy!Slice away the excess! It’s time to channel your inner surgeon and carefully cut around your design. Leave about a 1/8 inch border around the tattoo; this little frame keeps your masterpiece looking sharp on your skin.
Precision is key here! Use sharp scissors or a craft knife for cleaner edges. Picture this: You’re preparing a tiny work of art, so each snip should bring you closer to perfection. And we promise, no art school experience necessary—just steady hands and a keen eye!
Remove any extra paper. After cutting, take a moment to assess. You want nothing but the beautiful tattoo visible. Gently peel away any remaining paper or backing without removing the essential stuff. A seamless look ensures that your tattoo blends effortlessly on your skin, like a secret your body keeps!
Store it safely until application. Place your freshly cut tattoo on a clean surface or a sheet of wax paper. You wouldn’t want it getting wrinkled or dusty before its big debut! Once you’ve neatly prepared it, you’re on the brink of inking up your skin temporarily. The anticipation is part of the fun!

Step 5: Apply Your Tattoo
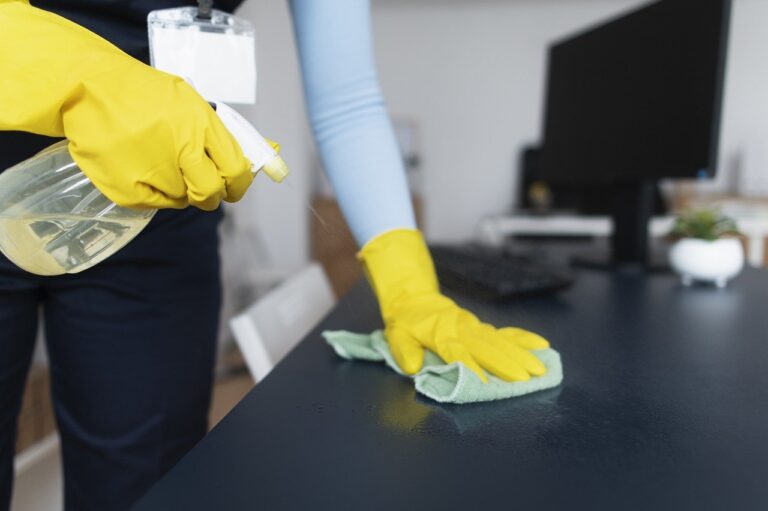
Stick It On, and Show It Off!Get your skin ready! Start by cleaning the area where you plan to place your new masterpiece. Use soap and water or an alcohol wipe to ensure it’s squeaky clean and utterly dry. Think of it as prepping a canvas; we want your tattoo to stick like it means business!
Peel off the backing. Carefully separate the clear plastic film from your tattoo. It’s like unwrapping a surprise gift—exciting but handle it with finesse!
Position your tattoo. Place it exactly where you want it on your skin. You wouldn’t want your majestic lion tattoo upside down now, would you?
Dampen a cloth or sponge! Grab your wet cloth and press it firmly against the tattoo. Hold it there for about 30 seconds. As you do, imagine the tattoo saying, “I’m ready to party!” It’s all about making that perfect bond.
Remove the paper gently. Once the time’s up, carefully lift the paper away and admire your creation! Ta-da! Your custom tattoo is now proudly displayed for the world to see. Don’t forget to show it off; snap a pic and share your art with friends—after all, you’ve earned those bragging rights!

Your Temporary Tattoo Adventure Awaits!
Congratulations! You’ve created your very own temporary tattoo. Wear it with pride, and remember – the only limit is your imagination! Now, don’t keep those masterpieces to yourself – show them off and share your results. Let the world see your creativity in action!


This guide is super helpful! I never thought I could design my own tattoos. 🎉 I’ve always wanted something personal, but I was too scared to commit. Now I can try it out without the long-term commitment! Can’t wait to get started! What kind of paper do you recommend for printing?
Thanks, Emily! For printing, you can use temporary tattoo paper specifically designed for inkjet printers. It works best for vibrant designs!
I totally get that! I have a bunch of ideas but was nervous too. This seems like a great way to test them out!
I have a question about applying the tattoo. Do you think using water is enough? I’ve seen some people use alcohol wipes. What’s the best method?
Good to know! I was worried about it staying on. Maybe I’ll try the alcohol wipes too!
Great question, Liam! Water is usually sufficient, but using alcohol wipes first can help the tattoo adhere better by cleaning the skin.
I just wet mine and it worked fine. But I’ll try the wipes next time!
Step 1 is so crucial! Conceptualizing is always where I get stuck. I think I’ll just doodle a bunch of ideas and see where it takes me. 🖊️ Anyone have tips on brainstorming designs? Like, what inspires you?
Doodling sounds like a great plan! Inspiration can come from anywhere—nature, art, or even your favorite quotes!
I usually look at Pinterest for ideas. It’s full of cool designs that spark creativity!
Same! Pinterest is a goldmine. Just remember to make it personal!
Just finished my first design using your steps! It was easier than I thought! 😄 I went for a floral theme. Can’t wait to try printing it out! Any tips on cutting it? Should I leave a border or cut right to the edge?
I cut close to the edge for mine, but I think a border would look cleaner. Good luck!
Awesome to hear, Chloe! Leaving a small border can help with application. Just make sure it’s not too thick!
Can’t wait to see your design! Floral sounds beautiful! 🌸
I love the idea of temporary tattoos, but I’m not very artistic 😅. Do you think I could still make something cool with your steps? I wouldn’t want it to look like a child’s doodle!
Try using online design tools or templates! They can really help if you’re not confident in your drawing skills.
Absolutely, Sophie! You don’t have to be an artist. The guide encourages creativity, and simple designs can look fantastic!
You know, I thought temporary tattoos were just for kids. But this guide makes it seem fun for adults too! 😂 I might just make one for my next BBQ. Any suggestions for designs?
A BBQ-themed tattoo sounds hilarious! I’d love to see that!
Haha, yes, they can be fun for all ages! How about a fun quote or something BBQ-themed?
Okay, I’m really impressed by how detailed this guide is! I was skeptical about the whole DIY tattoo thing, but you’ve convinced me to give it a go! 😍 How long do these tattoos typically last?
Thanks, Jane! Typically, temporary tattoos can last from 3 to 7 days, depending on skin type and care.
Wow, that’s longer than I thought! I need to try this for a party!