Upcycle Gifts That Look Like Magic, Not Mayhem
Turn trash into thoughtful treasures — no gluey messes or panicked Pinterest binges. This guide leads you through six easy, low-fuss steps to create polished, personal upcycled gifts. Quick, clever, and totally doable, these ideas save money and make recipients smile every single time.
What You’ll Need (Spoiler: Not Much)
Hunt for High-Potential Finds
Why your trash pile is really a treasure map — serious, no excuses.Scout potential materials with an eye for quality and personality. Search your home, thrift stores, yard sales, and neighbors’ discard piles for items with good bones: sturdy frames, intact glass, unique textures, or charming patina. Think beyond the obvious—an old tie becomes ribbon, broken jewelry becomes charm accents, and mismatched tea cups pair up as mini-planters. Photograph and sketch quick combos to visualize matches, and keep a running list of gift recipients and their tastes so you can pair finds to people.
Label and store pieces together for quick assembly later —seriously useful.

Plan a Quick Prototype
Ten minutes of planning saves three hours of regret — don’t skip it.Turn your stash into a plan before you start cutting or gluing. Choose one recipient and pick a central focus piece—jar, bottle, frame, or charm cluster. Brainstorm three quick concepts (e.g., jar candle, fabric-wrapped bottle, jewelry-on-a-card) and sketch one simple layout.
Sketch a materials list and name one fallback option if something fails. Estimate time and test a tiny prototype for 10–20 minutes to dodge scale, color, or fit disasters. Assign a realistic time block on your calendar and gather tools in a “project kit” box so the task feels like a recipe, not a marathon.
Make a checklist and note quick fixes for stubborn lids, frayed fabric, or uneven paint.

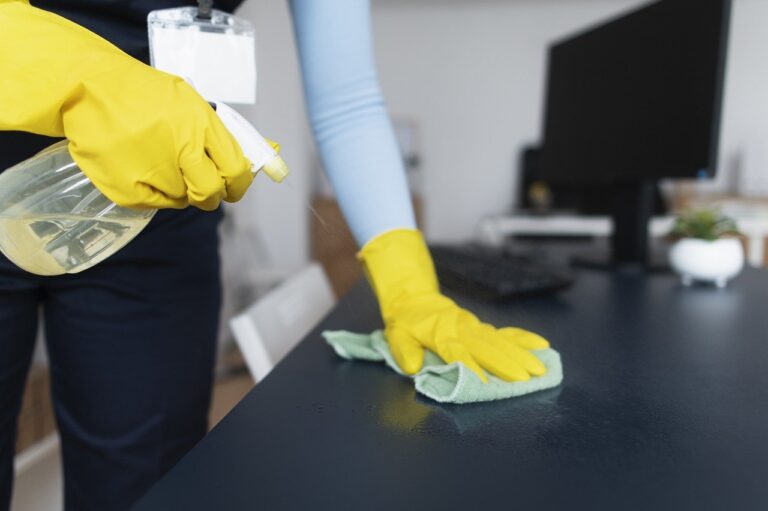
Clean, Prep, and Test Materials
Prep like a pro so your project behaves — sanding beats panic later.Prep like a pro: wash jars and bottles, disinfect handles, and gently sand rough wood to remove grime and give finishes something to stick to.
Remove old labels with a dab of oil plus baking soda or heat stubborn glue with a hairdryer and scrape gently.
Trim frays, restring beads, and pick a cohesive color palette—natural tones, monochrome, or one surprise pop color to tie mismatched parts together.
Use simple, multipurpose adhesives and test a scrap first. Prime or sand painted surfaces for better adhesion and apply light coats.
Pre-wash fabrics to prevent shrinkage and iron for a crisp finish.
Assemble small kits (tags, twine, gift cards) and label anything that needs curing time so you don’t smudge a masterpiece.
Tidy your workspace and switch on bright light—good lighting speeds finishing and saves sanity.
Make Simple, Repeatable Transformations
One clean trick often beats five tiny decorations — consistency is classy.Transform jars by layering spices or pouring candle wax, knotting a fabric lid and adding a handwritten tag for instant charm — no glue guns required.
Turn scarves into reusable wraps or tie them as bow handles; convert broken necklaces into pendant bookmarks with a bit of ribbon and a heavy-duty knot.
Lightly stain or whitewash wood to modernize while keeping character; sand first, wipe clean, then swipe on thin coats.
Assemble kits (hot-cocoa mix, seed packets, mini sewing kits) in neat boxes and use clear labels for clarity and polish.
Choose one paint color, a consistent ribbon, and exactly two finishing touches (label + sealant) so you can reproduce the look easily.
Finish with tidy edges and centered labels. Add a small care note describing reuse ideas and how to enjoy the gift.

Personalize with Purpose
Small, sincere details beat over-the-top frills every time. Promise.Write a short handwritten note telling the item’s story or why it suits them — e.g., “This ribbon came from my grandma’s dress; it felt like yours.” Keep it warm and under two sentences.
Use small, consistent typography for labels — stamp, print, or looped script — and include clear care instructions like “hand wash cold” or “wipe clean.”
Add scent: spritz lavender on a fabric ribbon or tuck a cedar dab inside a box for a polished first impression (no confetti tornado required).
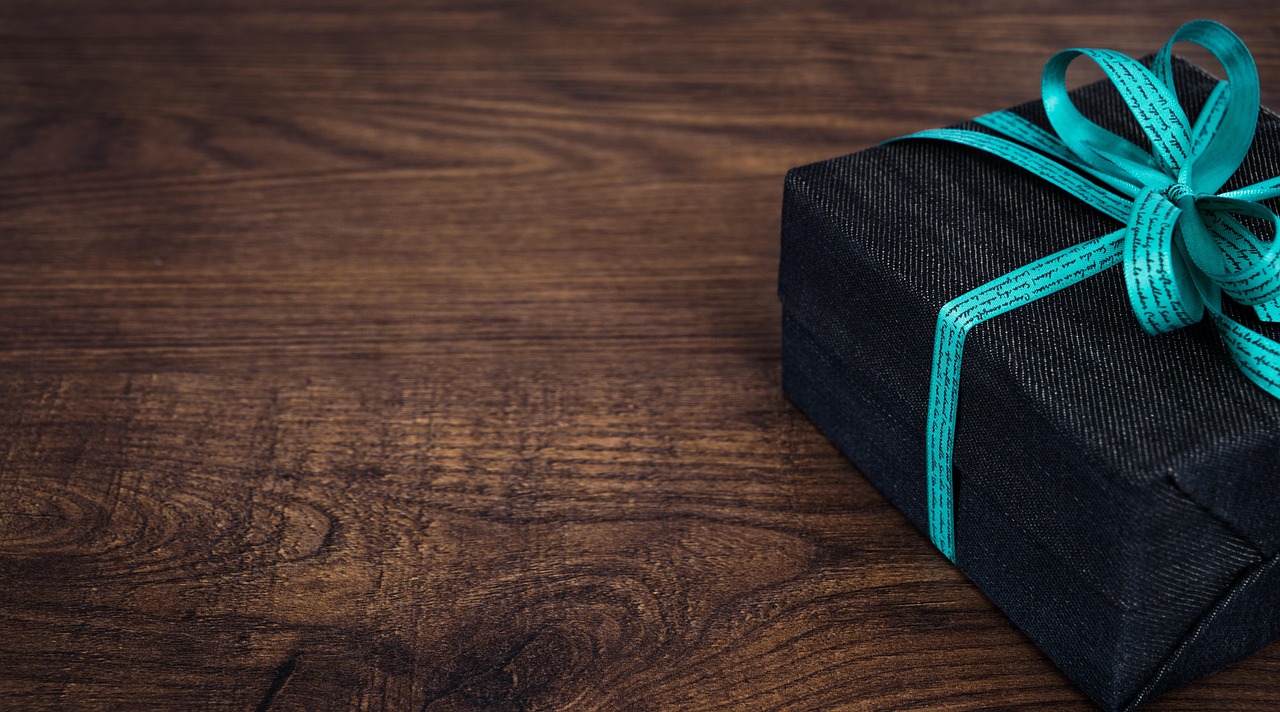
Wrap thoughtfully: choose reusable fabric wraps, kraft paper bands, or a simple box tied with twine; these photograph and pack well.
Include a tiny bonus — seed packet, tea sampler, or mini repair kit — to make the gift feel curated.
Take a quick photo for your records; keep personalization timely but brief; sincerity beats over-the-top ornamentation every time.

Deliver, Tell the Story, and Encourage Reuse
A short provenance note makes people value things more — science-backed bragging.Deliver with delight and a tiny sustainability anecdote. Wait until adhesives and finishes cure—wait 24–48 hours—so nothing oozes in their hands.
Share a photo in a family chat or social feed to inspire friends. Celebrate imperfect charm—note one tweak so your next batch is faster.

Done — Now Make Gifting Greener (and More Fun)
Give gifts that tell stories, not landfill statistics—use these six steps to craft stylish, sentimental presents fast; try one this week, snap a pic, and share your upcycle triumphs with pride, please.