
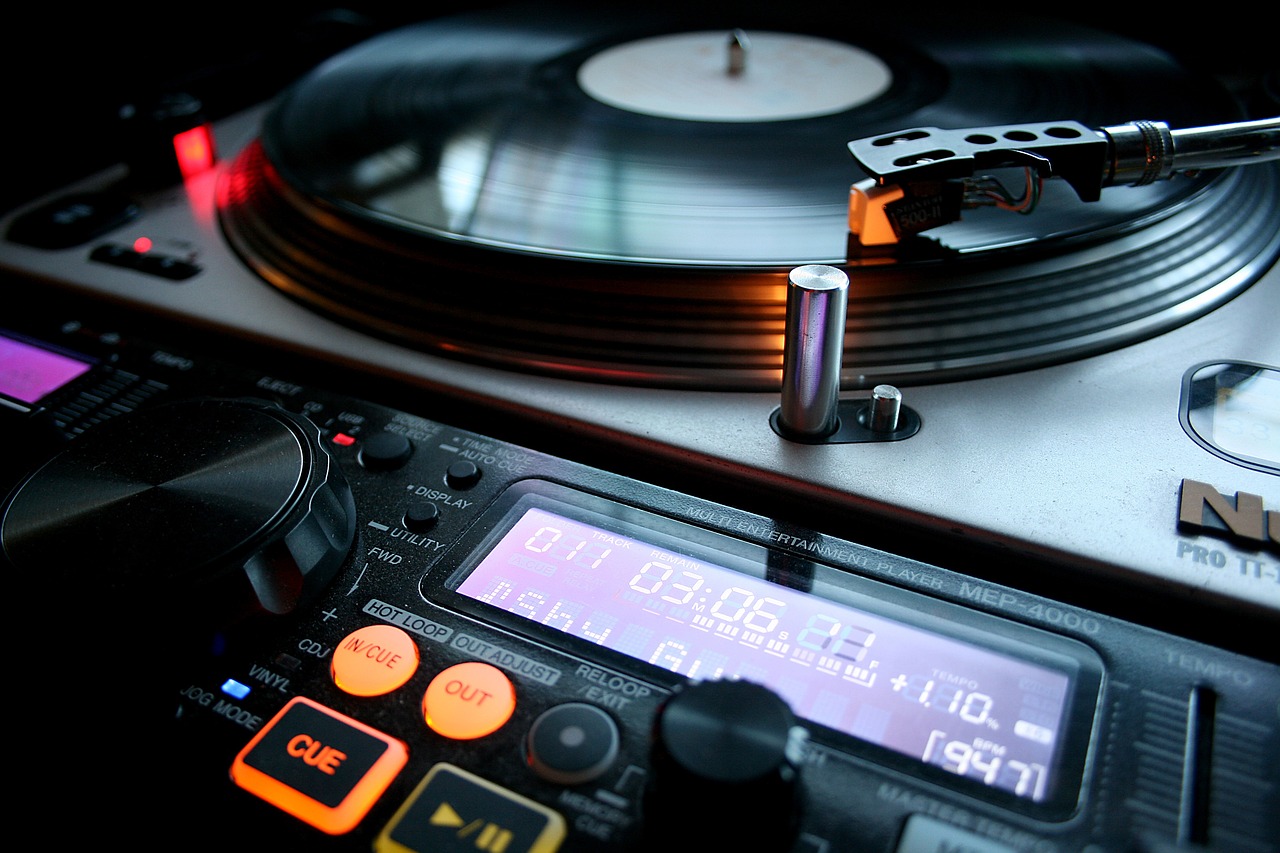
Unleashing the Sound: Your Turntable Awaits!
Did you know that the world’s most valuable vinyl sold for a whopping $27,000? Ready to elevate your vinyl experience? This guide will walk you through setting up your turntable for the best sound you’ve ever heard—enjoying music the way it was meant to be!
What You’ll Need for Audiophile Bliss

Maximize Your Turntable’s Volume: Essential Optimization Tips
Step 1: Find the Perfect Spot
Location, location, location! It matters more than you think.Choose a sturdy, flat surface away from vibrations. Your turntable deserves a cozy, stable home! A good spot can make a world of difference in sound quality—imagine your vinyl spinning in a mansion rather than a rickety shack.
Look for a tabletop or shelf that can handle weight like a champ. Avoid flimsy furniture (we’re looking at you, wobbly side tables). Instead, consider solid pieces like a dedicated stereo cabinet or a heavy bookcase.
Steer clear of areas with potential disturbances. Keep your turntable away from speakers—those bass vibrations can wreak havoc on your sound quality. Also, watch out for spots near windows that might let in sunshine (you don’t want your records fading away) or by areas of high foot traffic where accidental bumps can ruin your precious collection.
In short, aim for a location that makes your turntable feel like royalty, because a happy turntable leads to happy listening! Now, go find that perfect spot!

Step 2: Level Up Your Turntable
Are you in balance? Let's make sure!Grab a level tool—the kind that looks like a small glass tube with a bubble inside. You might think it’s meant for hanging pictures, but nope! Today, it’s your turntable’s best friend.
Check the horizontal alignment. Place the level on your turntable platter and watch that bubble dance. You want it dead center, balanced like a tightrope walker at a circus. If it’s off, your turntable is prone to unwanted vibrations, which can result in distorted sound and uneven wear on those precious records.
Adjust as needed. If your bubble is wobbling, try adding furniture coasters or shims under the feet of your turntable. These little adjustments can help stabilize your setup. It’s like giving your turntable a mini spa day—who doesn’t love that?
Double-check your progress. After adjustments, whip that level out again. If the bubble is perfectly centered, you’re golden! Your turntable is now ready to spin records like a pro—smoothly, confidently, and with optimal sound quality to boot!

Step 3: Connect Your Turntable Like a Pro
It’s not rocket science… or is it?Plug in your turntable! First things first, find that power cable and give it a secure connection. Look for an outlet that’s not already hosting three other devices—your turntable deserves a spot in the limelight.
Next, connect it to your amplifier or speakers. If you have a built-in preamp, use the RCA cables (those red and white connectors). Simply plug them into the corresponding output on the turntable and connect the other ends to the input on your amp. If your turntable doesn’t have a preamp, you’ll need to hook it up to an external one first—think of it as a warm-up before the big game.
Double-check those connections. Give everything a gentle tug to ensure no cables are loose; you want a solid link for the best sound. Proper wiring is key—no one wants a surprise silent disco on a Saturday night!
Lastly, if you’re using a Bluetooth turntable, pair it with your speakers. Turn on Bluetooth, search for devices, and connect. Just like that, you’ve opened the door to your vinyl kingdom—now prepare for that sweet sound!

Step 4: Set Up the Tonearm and Stylus
The heart of your turntable—don’t skip this!Adjust the tonearm height. Before diving into tracking force, make sure the tonearm is set to the right height for your records. Each vinyl platter is a different thickness. Your turntable’s tonearm should be parallel to the record surface when it’s at rest. If it’s not, you may need to adjust it using the height adjustment mechanism. It’s like giving your tonearm a tailor-made outfit—perfectly fitted for the occasion!
Set the tracking force. Check your stylus specifications for the ideal tracking force, which is usually measured in grams. Use a digital scale to accurately measure how much weight the stylus is pressing down on the record. If you set it too light, your music will sound thin; too heavy, and it could damage those grooves faster than a kid running to the ice cream truck!
Calibrate anti-skate. This crucial little feature combats inner groove distortion by putting a slight outward force on the tonearm. Set it to match the tracking force you just chose—this ensures your needle stays right where it should, like it’s enjoying a perfect dance on your vinyl.
Get this right, and it’s like having a personal DJ spinning your records exactly how they should sound. Your records will thank you! Now go ahead and make those adjustments!

Step 5: Test the Waters—Or the Vinyl!
Don’t just take our word for it, listen for yourself!Play your favorite record! Dust off that vinyl you’ve been saving for a special occasion. Gently place it on the platter and lift the tonearm—this is the moment you’ve been waiting for! As the needle drops, take a sip of your beverage of choice and prepare for some auditory magic.
Listen closely. Pay attention to any skips, pops, or distortions. If you hear them, it’s a sign you need to tweak your setup. You might want to check the tracking force again or ensure the tonearm is well-balanced. Think of it like fine-tuning a guitar before your big concert—you want it just right!
Adjust your settings as necessary. Maybe you need to angle the tonearm differently or increase the anti-skate a smidge. Every little tweak can make a huge difference.
Experiment with volume levels. Crank it up to find that sweet spot where the music comes alive but doesn’t distort. It’s all about finding harmony, just like your favorite duet!
Enjoy this fine-tuning process; you’re on your way to becoming an audiophile!

You Did It! Now Enjoy the Sweet Sound of Vinyl
Congratulations! With your turntable finally dialed in for peak performance, it’s time to kick back, relax, and let those vinyl vibes wash over you. Don’t forget to share your listening experiences—we’d love to hear how it sounds! Happy spinning!


Great guide! But I found leveling the turntable a bit tricky. I ended up Googling a video for extra help. Maybe a video link would be useful? 🤔 Just a thought!
Yeah, leveling can be a pain! I ended up using a small bubble level. Made things easier.
Thanks for the feedback, Emma! We’re considering adding video content in the future. Glad you found a workaround!
I mean, the guide is good, but where’s the part about the best records to start with? I need some classics to test this setup! 😂
Good point, Kevin! Maybe we’ll add a section on recommended records soon!
For starters, you can’t go wrong with Fleetwood Mac’s “Rumours” or anything by The Beatles!
Honestly, I skipped the ‘test the waters’ part. Just dove in with my favorite album, and it was glorious! 🌊😄 Anyone else just wing it?
Haha, I totally winged it too! But it was so worth it! 😄
Sometimes you gotta just go for it! Testing is overrated when the music is calling!
I love my turntable, but honestly, I’ve never really set it up properly. This guide is super helpful for a newbie like me! I’m excited to finally give it a proper setup. Can’t wait for that sweet vinyl sound! 🎉
You’re gonna love it, James! It’s like rediscovering your music collection all over again.
Welcome to the vinyl community, James! Enjoy the journey ahead—it’s definitely worth it!
Okay, I have a question! How do I know if my tonearm and stylus are set up correctly? I feel like mine’s a bit off…
Great question, Nina! You can check the tracking weight and make sure the stylus is clean—those are key!
Also, make sure the anti-skate is set right! That can really affect the sound.
You might want to refer to your turntable’s manual for specific adjustments. They usually have the best guidelines!
Just set up my turntable using this guide and wow! 🎶 The sound is like a warm hug for my ears. I never thought finding the perfect spot would make such a difference. Thanks for the tips! Anyone else have suggestions for a good vinyl cleaning method?
Hey Sarah! For cleaning, I use a mix of distilled water and a drop of dish soap. Works wonders! Just make sure to dry them properly after! 😊
Glad to hear it worked out for you, Sarah! For vinyl cleaning, you could also try a dedicated vinyl cleaning solution. They usually do a great job without risking damage.
I appreciated the step on connecting the turntable like a pro. I was so worried about getting it wrong! 🤦♀️ This guide made it super easy! But I still feel like I’m missing something…
Diana, it can feel overwhelming at first. Maybe double-check the connections? Sometimes it’s just a loose wire!
If you’re feeling unsure, don’t hesitate to reach out! We’re here to help!